| cornell_notes_pentool.doc |
Play the Pen Tool Challenge Game


|
|
NOTES:
How the Pen Tool works
Photoshop is a pixel image editor. The Pen Tool creates an outline or path (vector shape) by using anchor points. These paths can be opened or closed and can be viewed in the Paths panel (which similar to the Layers panel) where each path can have its own layer. You can then make a selection from a path.
This means that you are working non-destructively on your image which is always a good thing. These paths can be saved and re-edited over and over. So the time spent on a selection can be saved for future use or further refined at a later date.
The Pen Tool is excellent for making those selections where accuracy is important. There is a definite learning curve for mastering how it works. With a bit time and practice, you will find it easier to use and if your work requires isolating objects/subjects from their backgrounds then the Pen Tool is a must.
It’s not the fastest tool to work with, but that said, the positives outweigh the initial teething problems. Pros:
- Accurate trace outline of the object/subject.
- Paths are saved and can be re-edited.
- Vector Masks and Layer Masks can be applied.
- A path can be saved inside of your jpeg but you must “Save as…” and not “Save for Web”.


|

|

PRACTICE: STRAIGHT LINE TRACE

PRACTICE:
| |||||||

|
| ||
| stop-sign.jpg |
THE PEN TOOL ACTIVITY
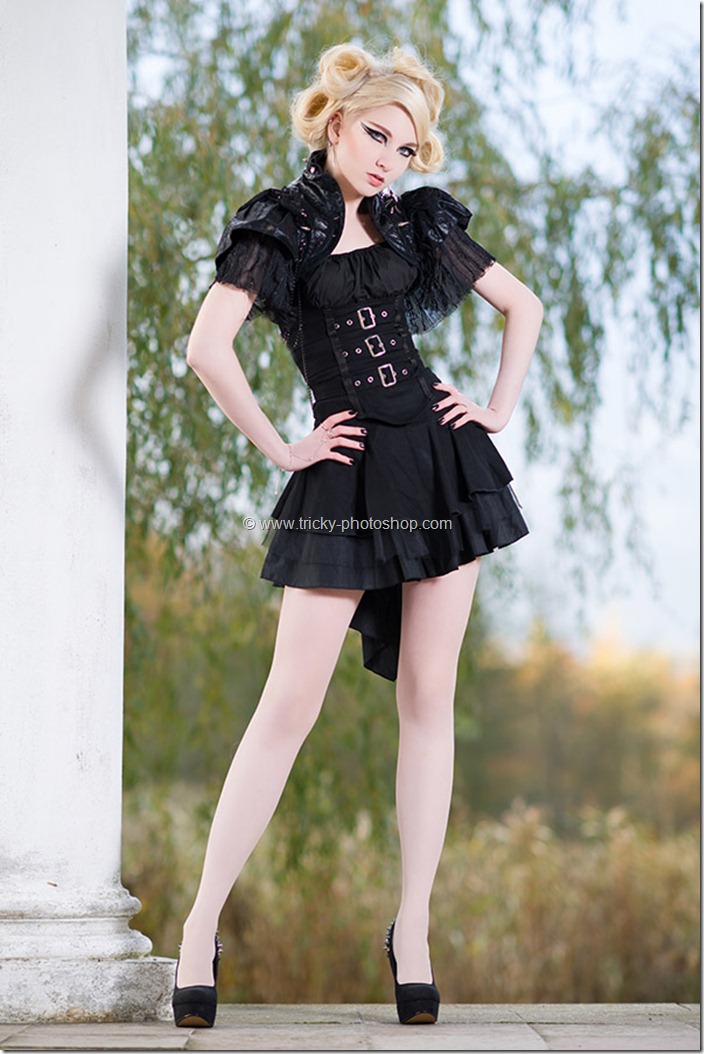
| fashion_model.jpg |
STEP 1
Open your image in Photoshop. Grab the pen tool from the tool panel or you can press Shift+P again and again until it comes. Now duplicate your layer by pressing Ctrl+J. Make sure that your mode is “Path“. You can check that from the option bar (top panel). Now the next question is from where should we start to extract a person. The answer is pretty much simple. Start from any point you want. I am going to start off with her neck.
Open your image in Photoshop. Grab the pen tool from the tool panel or you can press Shift+P again and again until it comes. Now duplicate your layer by pressing Ctrl+J. Make sure that your mode is “Path“. You can check that from the option bar (top panel). Now the next question is from where should we start to extract a person. The answer is pretty much simple. Start from any point you want. I am going to start off with her neck.

STEP 2
Now the only thing that you need to do is to follow the edges. Move your mouse cursor along with her body. If there is a sharp turn then just click at the corner point to create a new anchor point. By creating a new anchor point you will be able to change the direction of your pen tool.
Now the only thing that you need to do is to follow the edges. Move your mouse cursor along with her body. If there is a sharp turn then just click at the corner point to create a new anchor point. By creating a new anchor point you will be able to change the direction of your pen tool.

STEP 3
Whenever you want to want to trace a curvy line then you just need to follow step 2 but the only extra effort you need to do is to drag the anchor point as per your requirement.
Whenever you want to want to trace a curvy line then you just need to follow step 2 but the only extra effort you need to do is to drag the anchor point as per your requirement.

STEP 4
Just follow step 2 and step 3 and trace the whole body. The most challenging part is to select her hairs as the structure of hair is pretty much complicated. What I usually do is to leave the stray hairs and I just draw a rough outline across the hairs. You may not not be able to see the line created by pen tool but if you look closely then you’ll be able to find the line created by pen tool.
Just follow step 2 and step 3 and trace the whole body. The most challenging part is to select her hairs as the structure of hair is pretty much complicated. What I usually do is to leave the stray hairs and I just draw a rough outline across the hairs. You may not not be able to see the line created by pen tool but if you look closely then you’ll be able to find the line created by pen tool.

STEP 5
Now create a new anchor point and start tracing the edges.
Now create a new anchor point and start tracing the edges.

Your path should look like this.

STEP 6
Do the same with other side also.
Do the same with other side also.

STEP 7
Now go to Windows>Path. Click on Load Path as Selection.
Now go to Windows>Path. Click on Load Path as Selection.

This will load your path as selection. You can see the Ants running around like the marquee and lasso tool selection

STEP 8
Now go to Select>Refine Edge. I am going to put my
Now go to Select>Refine Edge. I am going to put my
- Smart Radius: Turned On
- radius: 5.4 pixels
- Smooth: 0
- Feather: 1.7 pixels
- Contrast: 26%
- Shift Edge: –16%
- Output to: New Layer with Layer Mask

STEP 9
With your picture still selected, press CTRL J to put your selection in a new layer. Now your extraction should look something like this.

